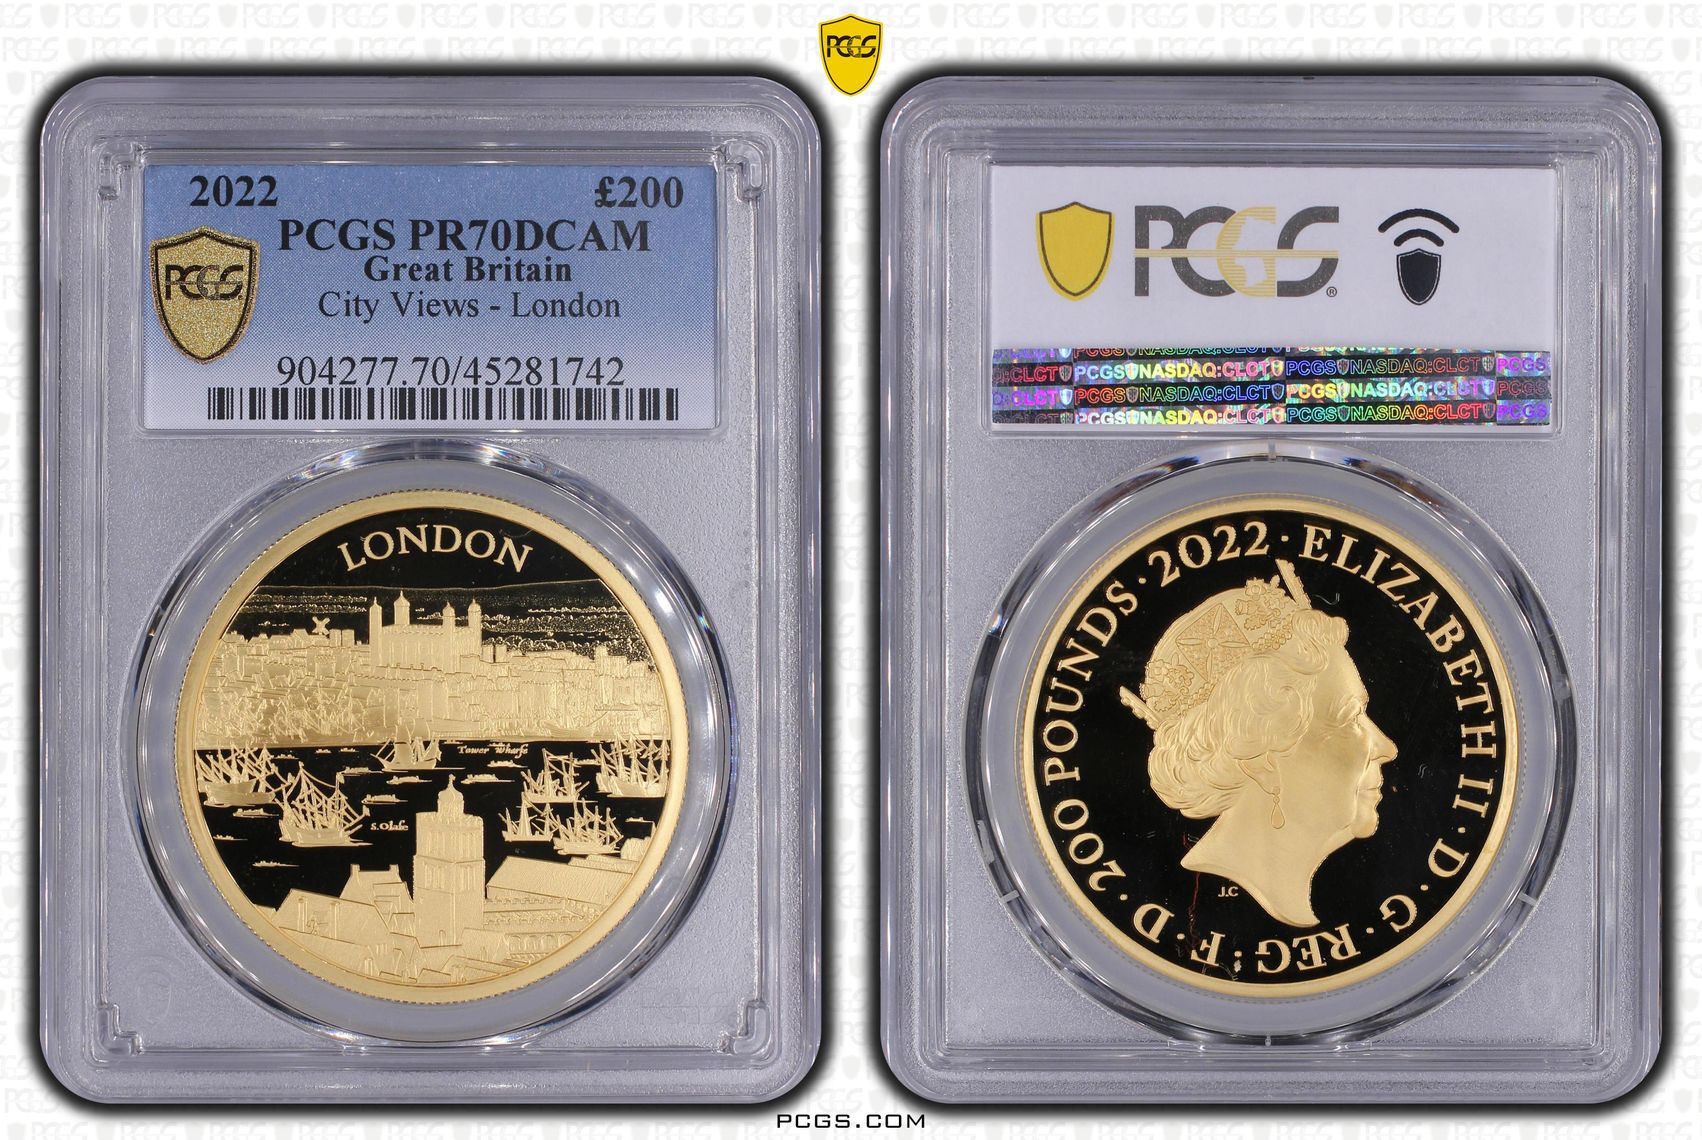
Along with photographing some amazing coins in our day-to-day duties in the PCGS Photo Department, there are a number of other photo projects we undertake. Passport photos, corporate headshots, and the occasional on-location photo shoot for example. But, perhaps unsurprisingly, the most common glamor shots we do aside from that of your coins is of PCGS slabs.
Now this isn’t necessarily the best way to photograph a coin in the slab. Far from it but it’s become the most popular way we photograph slabs that appeals to our clientele. These tips may be useful for those who take photos of slabs for online use or for other product photography you may need to do.
A lot of what we use for these photos are the result of improvisation with common items you can easily find around the house (or the office in our case) apart from the photographic and lighting equipment.
Our customers like a gray gradient background that sets off the clear highlights of the plastic slab and the brightness of the coin. We call this background a "seamless." The seamless itself isn’t actually gray but a large white sheet of paper. You can probably find nice white paper at your local arts and craft store, but make sure it’s matte as the glossiness of some bristol board might be problematic when it comes time to establishing the lighting.

Click to enlarge |
We’ve taped a large and wide strip of seamless to a desk and curved it upward against the wall. Do not crease the paper.
The trickiest part is making a PCGS slab stand on end. There are some slab easels on the market, but we’ve found the following way works well for us. What we do is simply cut a strip of paper that roughly corresponds to the width of the slab.

Click to enlarge |
After we cut out our long strip we fold it in on itself in quarter-inch increments, resulting in a small, long strip of paper. After we do that, we unfold it, and roll it again into the shape of a triangle. This the base for our little semi-invisible slab stand.

Click to enlarge |
After we have our stand, use some tape with the sticky side facing outward (alternatively use double-sided tape) and place it at the base of the slab and affix to your seamless. This may require some adjusting and fiddling around, but you’ll get the hang of it.

Click to enlarge |
Once you have your slab set up the way you want it, you’re ready to set up the lighting.

Click to enlarge |
For our slab photos we tend to use medium sized "soft boxes." Soft boxes are light sources on a stand that are typically enclosed in a tent with a white fabric diffusing the light. You don’t necessarily need soft boxes as large as the ones we’re using here, but they do come in handy for a variety of purposes, particularly portraits. You can get a relatively inexpensive soft box kit for around $150.
Typically for our slabs we arrange the lights flanking the slab and pointing them inward to catch the contours of the plastic. We don’t know a technical name for it off-hand, so we’ll call it the "reverse sideways clamshell lighting" technique. You can make subtle variations on this setup in order to illuminate the coin, or you can add other reflectors or sources to get more definition of the coin, but one must be careful not to get too much glare from the slab.
Make sure the lights are some distance from the background as to maintain the resulting gray backdrop we desire.

Click to enlarge |
These soft boxes use a fluorescent daylight bulb, so be sure to adjust your white balance accordingly. You may need to wait a little while for a fluorescent bulb to warm up as its color temperature can shift as it warms. Since we’re in an office we have fluorescent lighting above. We need to make sure all other light sources are sufficiently reduced or eliminated.

Click to enlarge |
Now we’re ready to take some shots. You can shoot the slab at an angle, but primarily we shoot this as head-on as possible. I would suggest using at least a 50mm lens (or zoom equivalent). This will give you sufficient distance from the slab and reduce the amount of perspective distortion you would find if you were to use a wide-angle lens (unless of course that is your desired effect). Canon and Nikon make a quite nice and affordable ƒ1.8 50mm lens that costs around $100. These lenses are also good for the aspiring new photographer I might add. These final shots were taken with the aperture set to ƒ7.1, the shutter set to 1/320, and the ISO set to 200. Settings may vary according to your individual setup, but in general you want to have things so you can take handheld shots at various angles, while having a small enough aperture to maintain a wide enough depth of field to keep things in focus.

Click to enlarge |

Click to enlarge |
Since the light source was quite diffused we made some adjustments in Photoshop to create more of a contrast in the final image, and we made necessary color corrections. You can take these tips and apply them to other numismatic items: Mint Packaging and coin rolls for example. Just feel free to experiment, improvise, and by all means have fun taking your photos.


 Copper & Nickel
 Silver Coins
 Gold Coins
 Commemoratives
 Others
 Bullion
 World
World
 Coin Market
 Auctions
 Coin Collecting
 PCGS News